Contact/Non-Contact Inspection
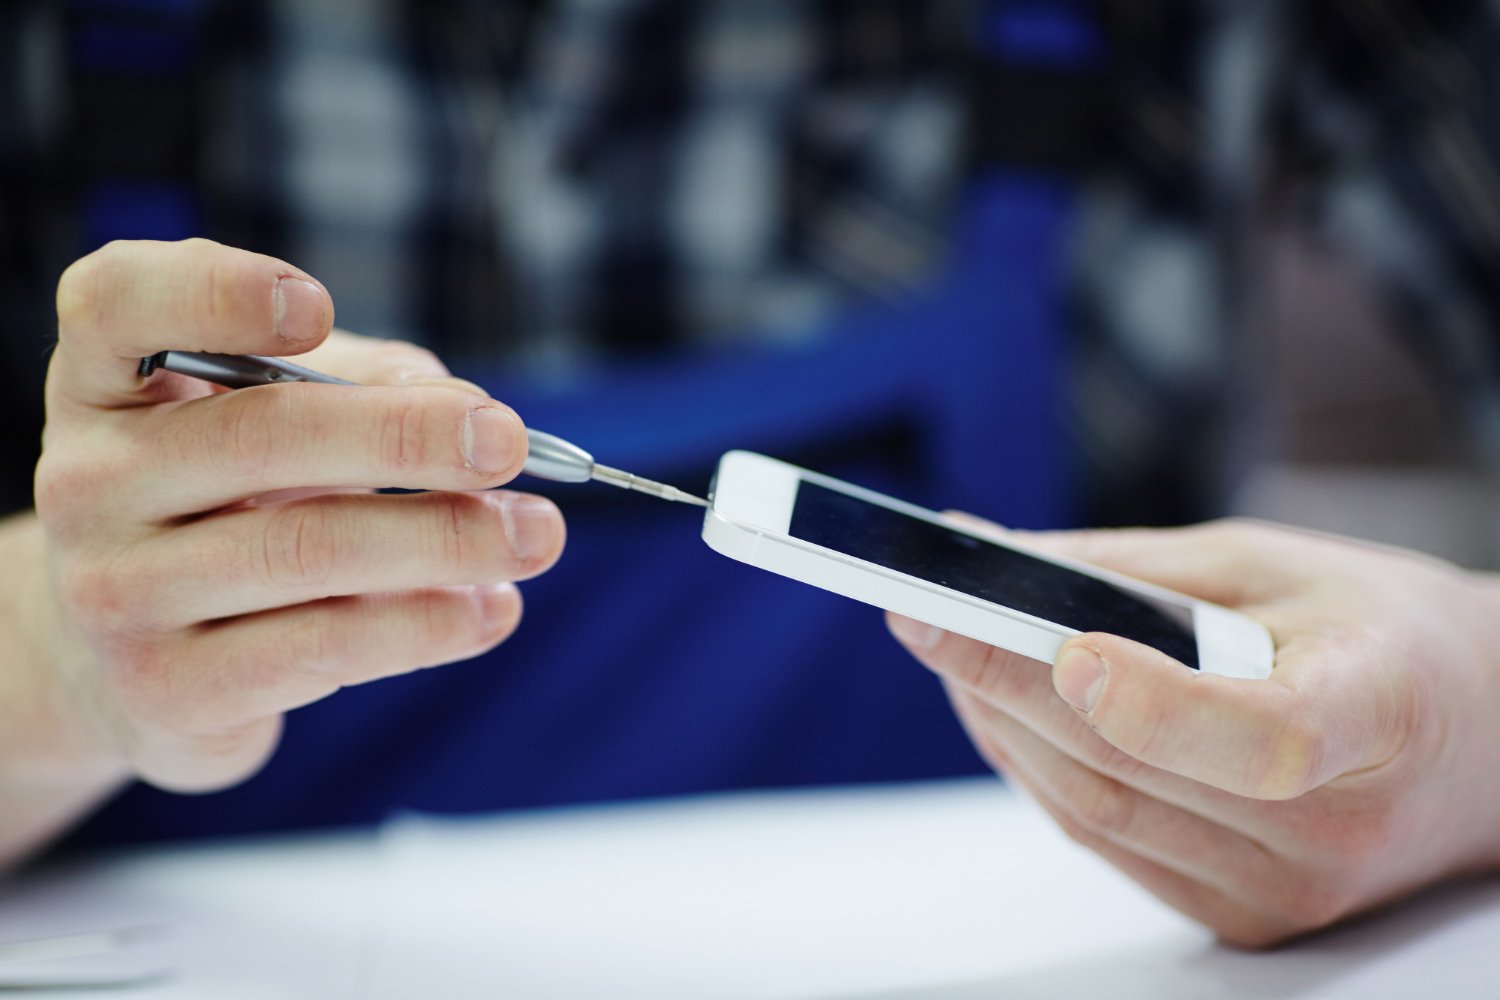
Contact inspection involves the use of physical contact between the measuring tool and the object being measured. This method is used to assess the dimensions, shape, or surface finish of a component by physically touching it with measurement instruments such as probes, gauges, or CMM (Coordinate Measuring Machines) probes.
Brochure
Download our document to see specific data of the service and how we work.
Let’s Start Work
Together
Please feel free to contact us. We will get back to you with 1-2 business days. Or just call us now.


Contact Inspection
CMM (Coordinate Measuring Machines)
CMMs are used for precise measurements of an object’s physical geometrical characteristics. The machine’s probe contacts the surface of the object to collect dimensional data.Digital Indicators
These are used to measure displacement and detect surface variations, ensuring parts meet required tolerances with high accuracy.Profile Projectors
A profile projector magnifies the profile of the component to allow inspection of the shape, dimensions, and overall geometry, ensuring high precision in manufacturing.Torque Wrenches
Used for measuring the torque applied to fasteners during assembly, ensuring the correct tension and precision.Roughness Testers
These tools measure surface roughness to ensure that the quality of finishes and coatings meet standards.
Non-Contact Inspection
Non-contact inspection methods do not physically touch the object but rely on light, sound, or other energy forms to gather measurement data. These methods are ideal for sensitive materials or applications where direct contact could damage or alter the object being inspected. Examples include:
Laser Scanners
Laser scanning captures detailed 3D information of an object’s surface by measuring the reflection of a laser beam. This technology is highly effective for large parts or complex geometries.Optical Microscopes
Optical inspection systems use high-resolution cameras and lights to capture images of an object’s surface. These systems are widely used for quality control and flaw detection at microscopic levels.Vision Systems
Vision systems, also known as machine vision, use high-definition cameras and image processing software to inspect objects for defects, dimensions, and quality. These systems are commonly used in high-speed production lines.Ultrasonic Testing
Ultrasonic inspection uses sound waves to detect internal flaws, thickness, or structural integrity of materials. It’s commonly used in industries like aerospace and manufacturing where internal defect detection is crucial.X-Ray Inspection
X-ray systems provide insight into the internal structure of materials, detecting flaws like cracks or voids without damaging the parts. This is commonly used in critical applications such as aerospace and electronics.
Why Choose Contact or Non-Contact Inspection?
Contact methods provide direct and highly accurate measurements, ideal for dimensional precision. Non-contact methods are equally accurate but offer faster results without the risk of damaging delicate parts.
Non-contact methods are generally faster and can inspect multiple parts simultaneously, making them suitable for high-volume production environments.
Non-contact inspection methods are ideal for soft, delicate, or non-durable materials where direct contact could cause damage.
Both methods have their specific applications, with contact inspection being suited for tight tolerance measurements, while non-contact is better for inspecting large or complex parts.
